A Wine Cellar is Your Collection’s Most Special Place
You love wine, and you’re proud of it! After spending a good amount of time being a wine enthusiast, you now want to go to the next level, which is a collector. As an aficionado of vino, you know that wine and temperature are inseparable. To start a wine collection, you have to prepare the storage area.
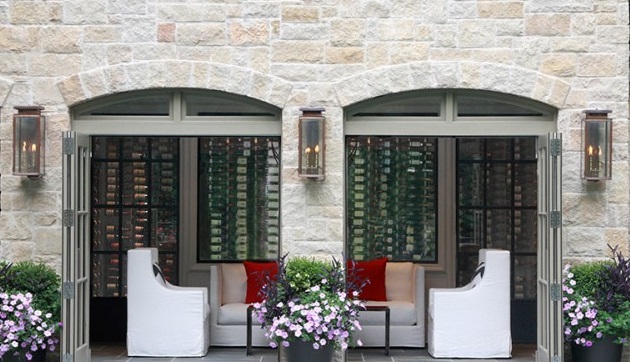
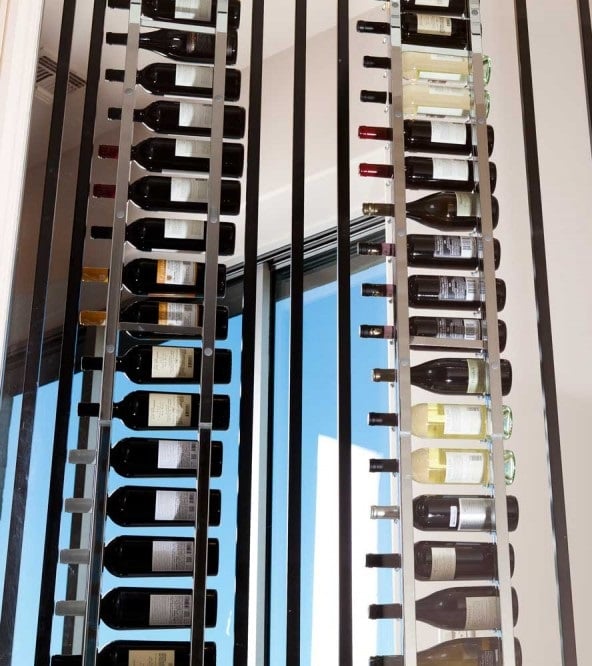
The most ideal storage structure for wines is a cellar with a refrigeration system installed. Cellars in Vancouver vary in style and design. The latest trend in cellar design is contemporary minimalist. To help achieve that modern look, chic metal racks should be installed.
The most availed types of metal racks on the market are those manufactured by Vintage View Storage Solution. All of their display systems are made from the most durable steel and they’re one of the most sought after providers of stylish metal wine racks to complete a custom wine cellar design.
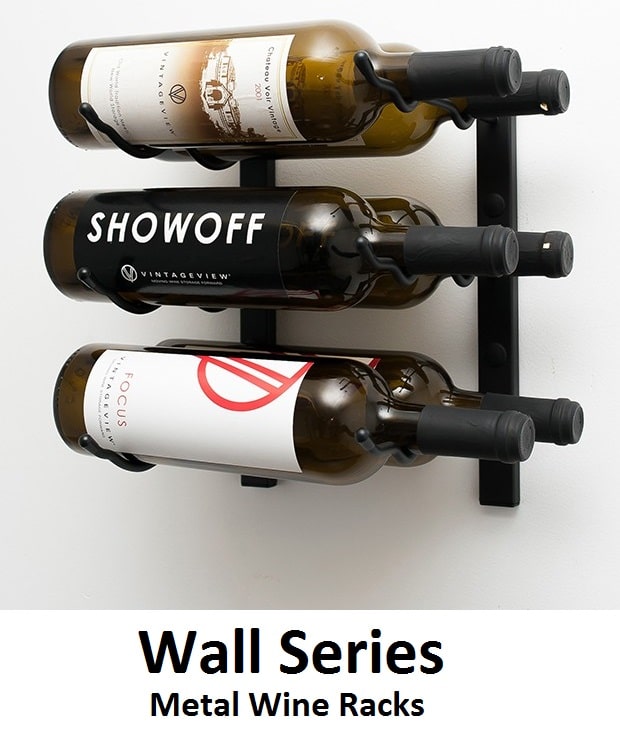
Wall Series – Wall-Mounted Metal Wine Racks by Vintage View
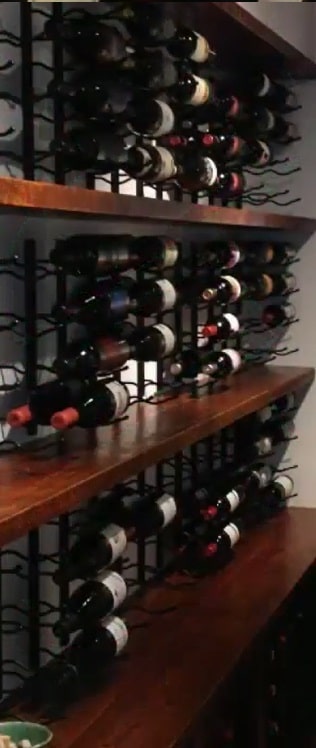
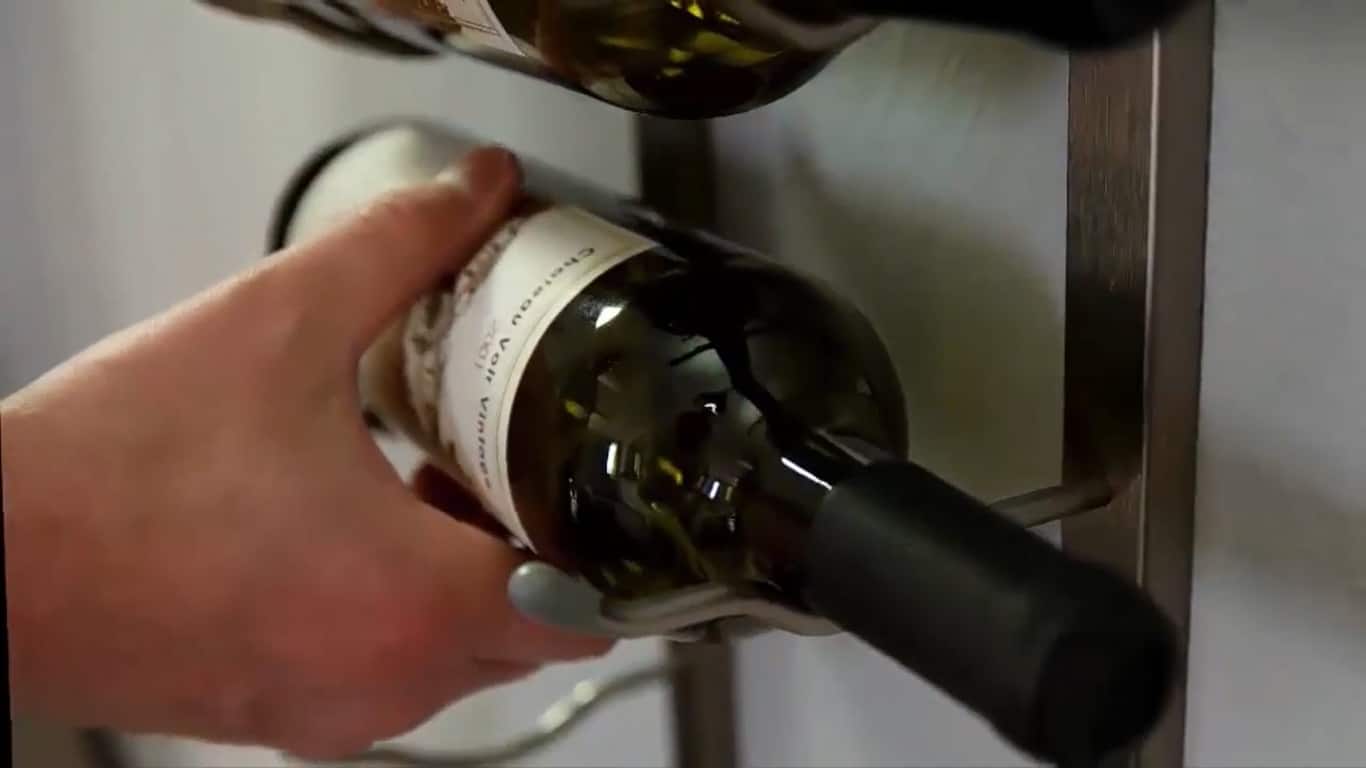
One of their most popular racking collections is the Wall Series. These patented steel displays all have a label-forward design, which means that bottles can be placed on the racks with their labels facing you. This is advantageous, especially for those who have over a hundred bottles of wine in their cellar, because the configuration makes it easier to identify the wines. You won’t have to scour through the racks, searching for a single bottle. You’ll find your favorite vintages at a single glance.
This wall-mounted racking system series is available for both standard bottles and magnum-sized wines. You have the option to customize the look of the metal displays by choosing any of the following finishes applied: satin black, chrome plated, black chrome, and brushed nickel.
Step by Step Instruction on How to Install the Wall Series Metal Racks
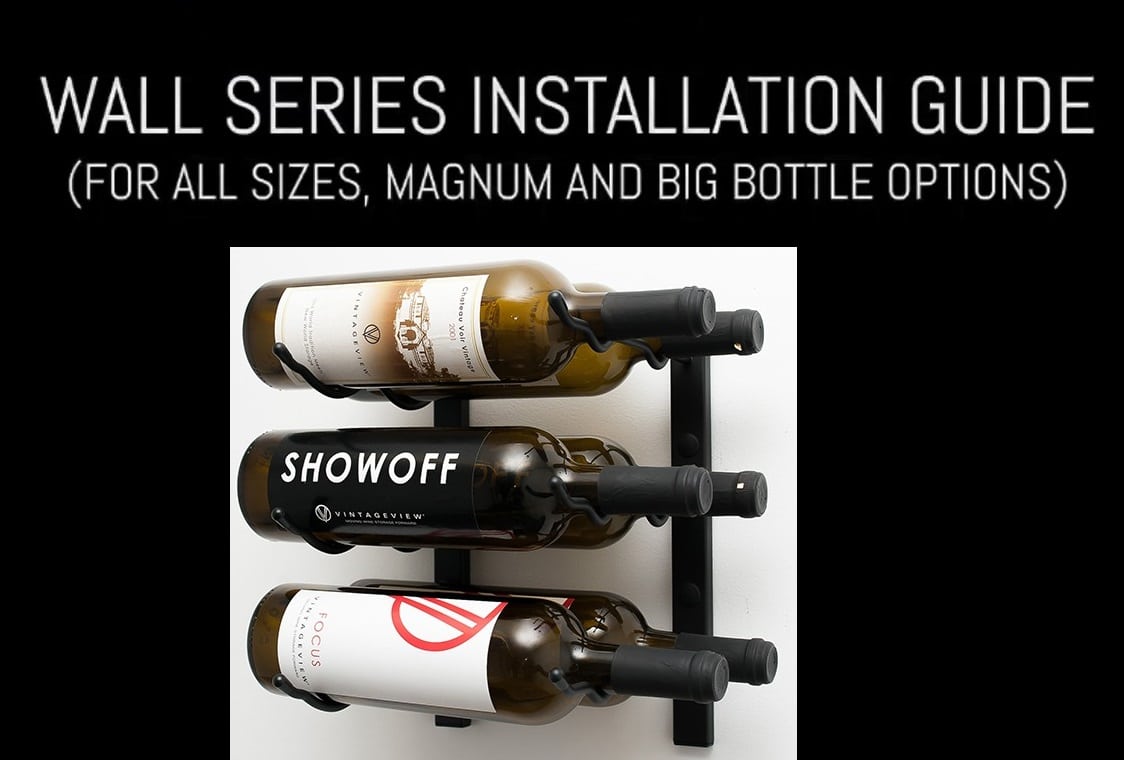
The following is a comprehensive guide on how to install Vintage View Wall Series metal wine racks. You may also watch the instructional video by clicking here!
What You Need:
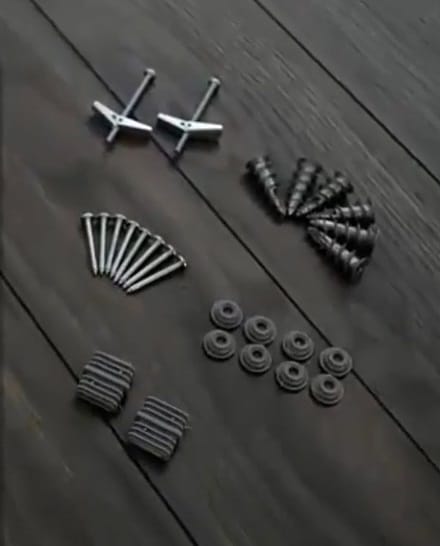
Wall Series metal wine racks from Vintage View (base and neck strip)
- Spiral drywall anchors
- Mounting hole caps
- Toggle bolts
- Couplers
- Screws
- Phillips head screw driver
- Drill and bits
- Tape Measure
- Pencil
- Level
STEP 1
In preparation for the installation of the Wall Series strips, lay out your cellar wall. Make sure that the layout is at least 2 ¾ inches from any obstruction. Once satisfied with the desired location of the first strip, mark it. For the second strip, measure approximately 7.5 inches from the centerline, and mark it.
If you plan to install more than two columns, keep in mind to allow at least 5.5 inches from the outside strip of one column to the inside strip of the next.
STEP 2
Identify the locations of the holes that you will be drilling. Simply hold the strip against the wall, and make sure that it is centered on the first mark. Once the strip is level, mark the places where the holes will be drilled.
STEP 3
Time to install the anchors. If you’re working on drywall, make sure to drill a pilot hole first. If you hit a stud, you can fasten the rack directly to the stud.
For the holes on top, drill a 13/32 inch hole for the toggle bolt. For the holes below, screw the spiral drywall anchors into the wall at the assigned places.
STEP 4
To hang the first strip, you first need to remove the expanding nuts from their toggle bolts. Then, insert the bolts through the top hole. Thread the expanding nut-wings, and then gently push the nuts through the 13/32 inch drill holes. Ensure that the wings are fully expanded. Tighten all the bolts.
Then, make sure that the strip aligns with the bottom spiral anchors. Once it is level, secure the rest of the strip by using the screws for the bottom hole. Ensure that the toggle bolt is completely tightened.
NOTE: If you plan to stack more than two metal wine racks, remove the end plug first before installing. If you are installing through a wooden wall, you can screw directly into all marked holes.
STEP 5
Now hang the second strip. Simply repeat the instructions in step number four. Keep in mind that the second strip should be centered with the mark on the wall, so that the tops of the strips are parallel to each other.
STEP 6
This is the final step. After you’ve hung all of the strips, install the caps for the mounting holes. Then, you may begin stacking the Wall Series metal wine racks. Stack the racks by replacing the end plug with the couplers. You may then start adding your wine bottles on the racks.
Consult a Cellar Specialist on the Latest Wine Room Designs in Vancouver
Are you excited about having your own residential wine cellar built? Tell us how you picture your bottles being stored. Let us help you turn that dream into a reality! Our design experts here at Custom Wine Cellars Vancouver are more than willing to assist you in planning for your wine room. We offer FREE 3D drawings of your desired wine storage structure. Call us today for more information! Click here!


